| Purpose | This topic describes the Inventory Count Session Manager. |
|---|---|
| Introduction | The Inventory Count Session Manager provides a comprehensive solution for managing and tracking physical inventory counts across your stores, warehouses, and locations. This feature allows you to conduct organized counts sessions that verify actual stock levels against system records, ensuring inventory accuracy and data integrity throughout your operations. The Inventory Count Session Manager captures counts and facilitates the comparison of physical count results against existing system quantities, highlighting discrepancies that require attention and allowing you to make informed decisions about inventory adjustments. The process is supported by Skuttlefish’s robust audit tracking and integrated reporting capabilities, giving you full visibility into all counts and adjustments and helping with compliance requirements, improved stock management, and reduced shrinkage. |
| Sections | This topic includes the following sections: |
Search:
| Topic | Section | Sub-Section | Item |
|---|
Inventory Count Sessions
Topic Overview
Inventory Count Sessions
| Navigation |
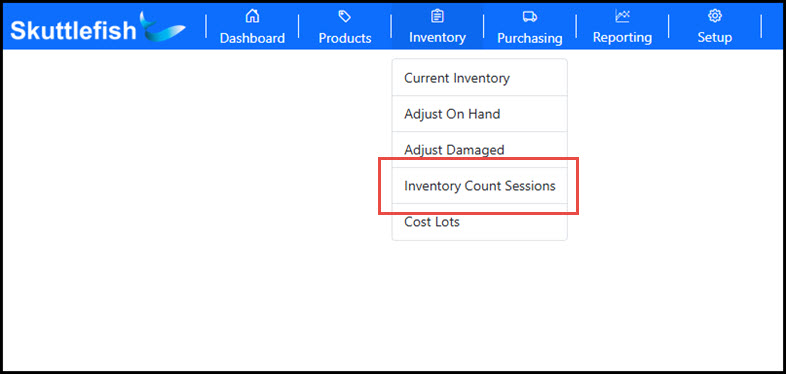
The Inventory Count Session Manager is accessible by navigating to Inventory > Inventory Count Sessions.
 |
|---|---|
| Inventory Count Sessions Grid |
The Inventory Count Sessions grid displays all Inventory Count Sessions that have been initiated. It supports searching, filtering, and sorting, and also allows you to export the data to Excel or PDF formats. Select an Inventory Count Session from the grid to view or manage its details. Click Add to initiate a new Inventory Count Session.
 |
Inventory Count Sessions Wizard
| Overview |
The Inventory Count Session Wizard walks you through capturing physical counts, reviewing data, adjusting inventory, and finalizing your count session to update system inventory.
|
|---|---|
| Step 1 - Session Details |
The first step in the Inventory Count Session Wizard establishes the basic session information, including the session name, start date, and Count Type. The Count Type categorizes your inventory count as Full, Cycle, or Spot:
Note: Count Type is currently used for descriptive purposes only and does not affect how the system processes the count. After entering the session details, click Start Count Session to begin the inventory count. 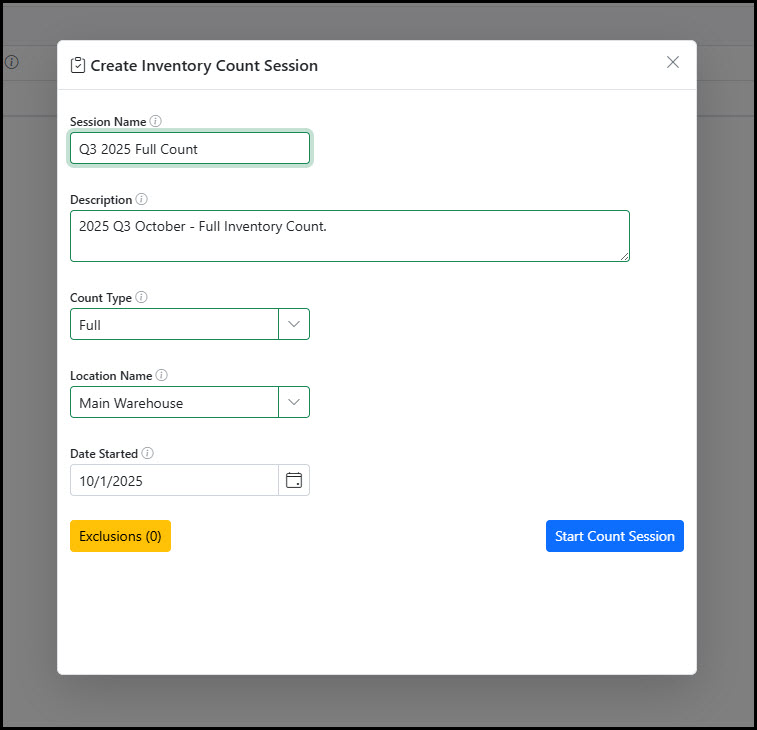 |
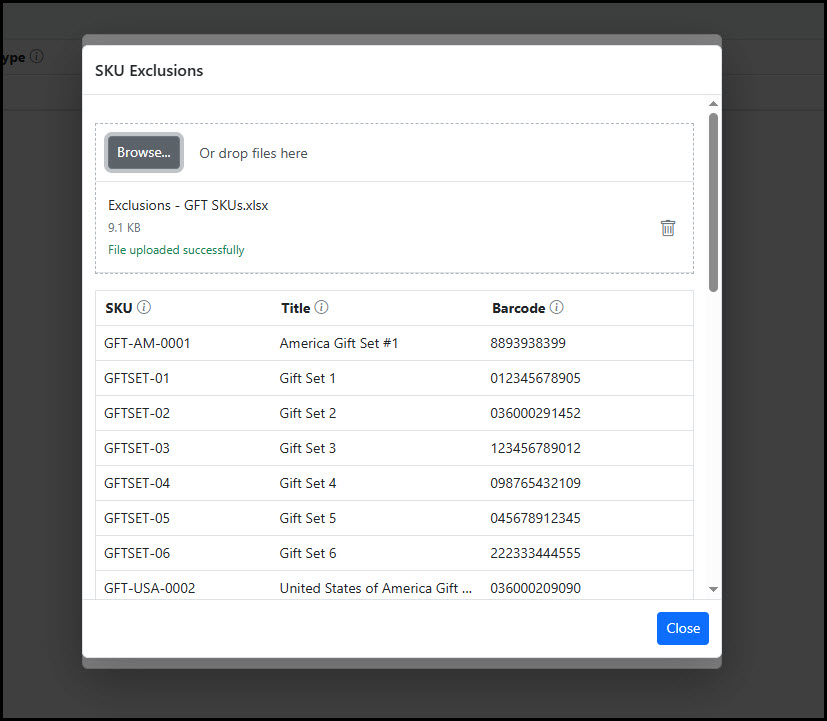
| Step 1 - Exclusions |
The Exclusions feature allows you to optionally remove specific SKUs from your inventory count session. To exclude items, click the Exclusions button on the Step 1 dialog before initiating the session. Import the standard layout Excel spreadsheet containing the SKUs you want to omit from the count. Any SKUs included in the Exclusions import will not appear in the required count list during the session, streamlining your counting process by focusing only on the items you need to verify.
 |
| Step 2 - Count Entry |
The Count Entry step is where physical counts are entered into the system. This step displays the session details, current progress of the count session, and the state of each of the SKUs included in the count session.
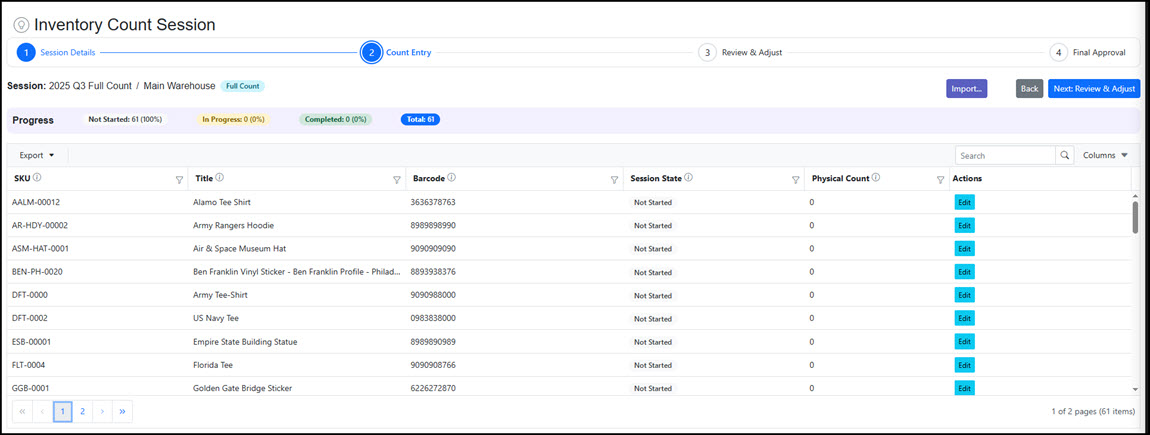 |
| Step 2 - Count Entry - Grid |
View and access each of the SKUs in the count in the Count Entry Grid. The grid allows searching, filtering, and export of the grid to a file.
 |
| Step 2 - Count Entry - Add Count |
Enter physical counts manually for each SKU using the Add Count Popup, accessed by clicking the Edit button for any SKU. You can add multiple counts per SKU, and each entry can include a custom Tag for identification purposes. All entries are tracked and displayed in the Entries section. Once you've finished counting a SKU, click the Count Complete flag to mark it as "Complete".
Navigate between SKUs using the Next and Previous buttons at the top of the view. Entries save automatically, and you can close the view by clicking the 'X' in the upper right corner.
 |
| Step 2 - Count Entry - Import |
If you capture counts outside of the system, you can optionally import them by clicking the Import button on the Count Entry screen. Upload your counts using the standard Excel template, and the system will process the entries automatically. Imported counts will automatically mark the corresponding SKUs as "Complete".
Click the Import button on Step 2 and upload the standard layout spreadsheet with SKUs and counts.
Once all SKUs involved in the count session are marked as "Complete", click "Next: Review & Adjust" to continue.
|
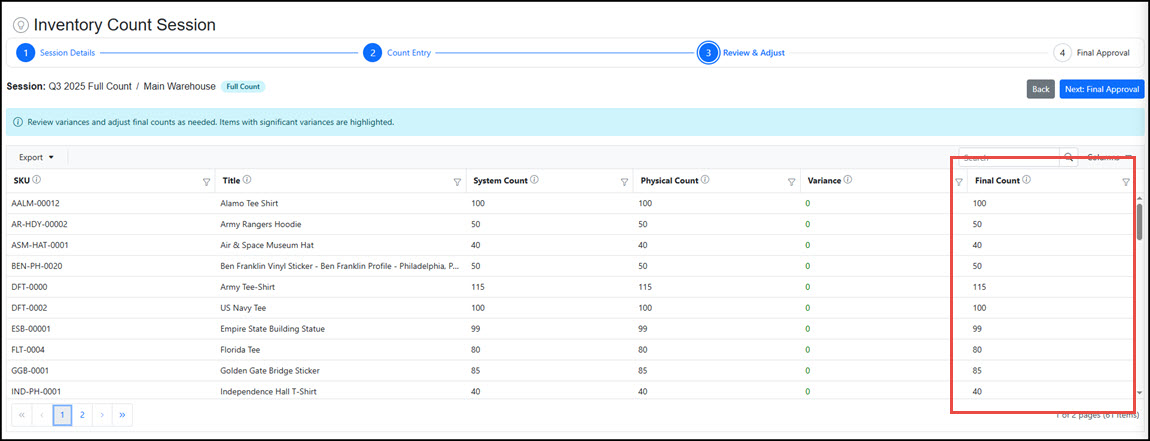
| Step 3 - Review & Adjust |
The Review & Adjust step shows your entered physical count alongside the current system inventory count, displaying any variance between the two. The Final Count represents the value that will update your inventory once the session is submitted.
 |
| Step 3 - Review & Adjust - Final Count |
By default, the Final Count matches your physical count, but you can manually adjust it in the field if needed.
 Once the Final Count is set to the desired count for each inventory item, click "Next: Final Approval" to finalize the count session and submit the inventory counts.
|
| Step 4 - Final Approval |
The Final Approval step displays an overall variance summary along with SKU-level variances for your count session. When you're ready to finalize the counts, click Approve & Complete Session. This action updates your system inventory with the final counts from the session and marks the inventory count session as "Approved" and complete.
The system archives complete details of each inventory count session, and all information is accessible through the reporting tool.
 |