| Purpose | This topic describes the process of importing bulk data through Excel spreadsheets to add or update records within Skuttlefish. |
|---|---|
| Introduction | The Import process in Skuttlefish is a flexible API designed to be both powerful and easy to use. You can add or update data across the system simply by using familiar Excel spreadsheet layouts. Imports are dedicated to setup and attribute data management and are not used to impact operational data such as product counts, costs, or financials. The Import feature is designed to allow variations of import types to be added without requiring complex customization or development work. There is an existing library that supports management of the main attribute tables, but additional import types can be added easily for customized data management needs. |
| Sections | This topic includes the following sections: |
Search:
| Topic | Section | Sub-Section | Item |
|---|
Import
Topic Overview
Import
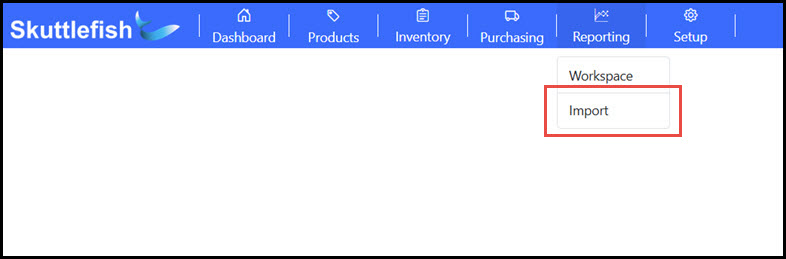
| Navigation |
The Import view is accessible by navigating to Reporting > Import.
 |
|---|
Import Process
| Introduction |
This section walks through the process of importing data on the Import view.
 |
|---|---|
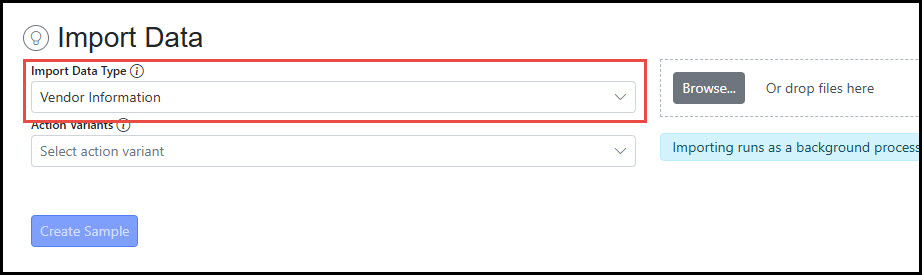
| Step 1 - Select Import Data Type |
Select the Import Data Type. This selection will represent either a single attribute table (Vendor, SKU, etc.) or a combination of tables to be used for the import.
 |
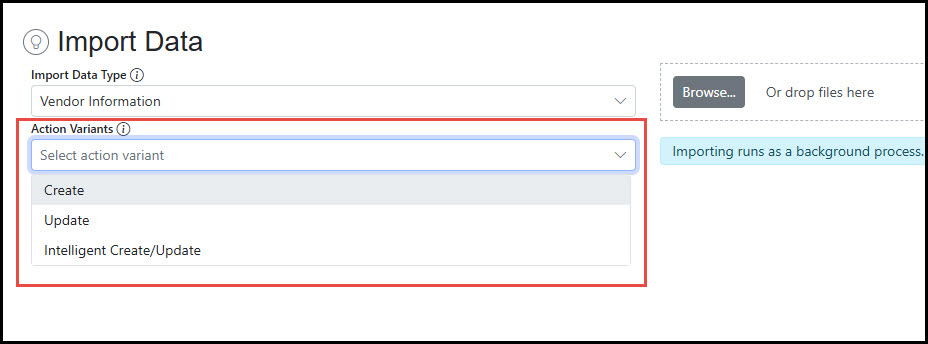
| Step 2 - Select Action Variant |
The Action Variant represents how the data will be impacted by the Import:
 |
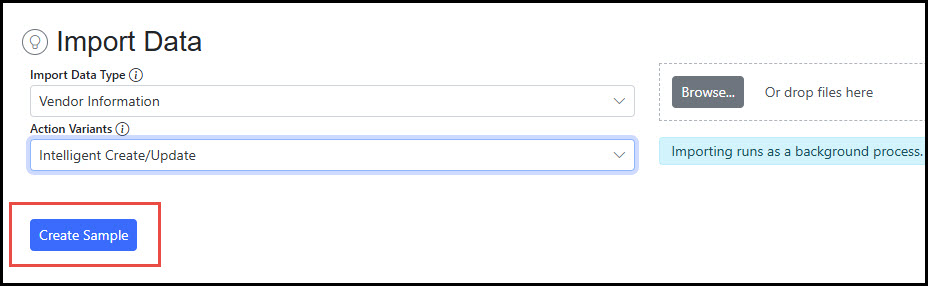
| Step 3 - Create Sample Layout (Optional) |
The Create Sample button downloads an Excel files in the format required for the Import Data Type selected. This is not required for the process if user has the proper layout.
 |
| Step 4 - Upload Import File |
Click Browse or drag and drop the file into the upload area.
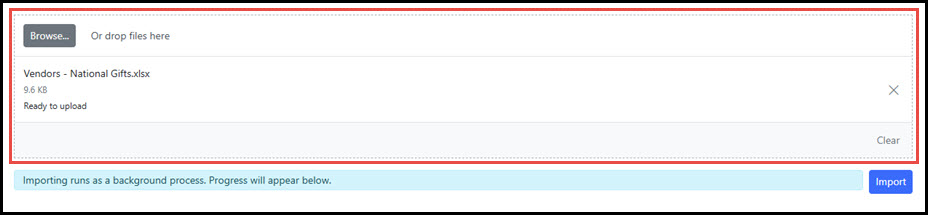 |
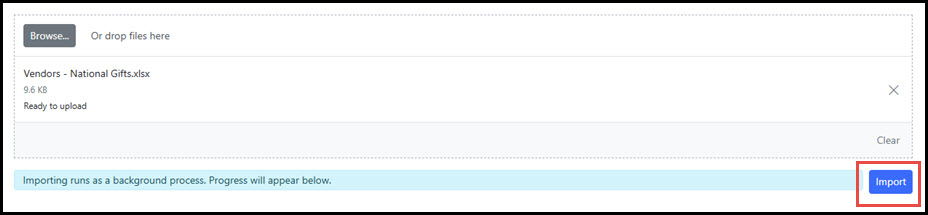
| Step 5 - Import Data |
After the file is uploaded, click Import to process the import file. The uploaded file may also be deleted prior to import by clicking Clear. Once the file is processed, the user interface will display any messages for the successful import or errors encountered.
 |